Autumn Thanks

Just a quick post this evening. It's been raining all day, which for some reason made me want to pull my studio apart and rearrange. Sometimes I baffle myself. Anyway, I have to go put it back together.

This is a Thank You card I made while experimenting with the new Hero Arts Autumn Ombre ink pad. I need more practice, but I am loving it.


This card was made with the Patterned Leaf stamp from Impress. It was stamped on MFT Smooth White, which was cut down and adhered to a mirror gold panel from Bazzil.


The sentiment is a Memory Box die which was cut twice - once from the gold paper and once from MFT Eggplant. The two die cuts were slightly offset to add more definition. All were adhered to an MFT Sweet Tooth card base. The splatters were added with Distress inks - Wild Honey and Ripe Persimmon.


I added a sentiment from MFT's Kind Thanks to the inside, stamping with the Autumn Ombre pad.

Thanks for stopping by today and I hope it's not as chilly and wet where you are.


I Love Fall

Truly, Fall is my favorite season and I love crafting with the fall color palette. Today's card is full of texture and the autumn spirit.


The card base is MFT Milk Chocolate and the panel is MFT Biscotti. I used Simon Says Stamp Stitched Whirl die on the panel. To me it represented the swirl of wind blowing the fall leaves around.

Concord and 9th Layering Leaves die cuts were used for the "bouquet" of leaves. In addition to the colors already mentioned, I used MFT Jellybean Green, Orange Fizz and Kraft.

The tag was cut from using MFT Tag Blueprint #4 and the sentiment from Concord & 9th Give Thanks stamp set was stamped in Versamark and embossed with Hero Arts Brass embossing powder. I love, love LOVE that powder! The leaf bunch was gathered with a piece of twine.

On the inside, I used another Biscotti panel and decorated it with several cut out leaves from the Layering Leaves. I love how this card came out. To me, it represents fall and the harvest season.

Thanks for stopping by today, and I hope to see you again tomorrow. I will be experimenting with my new Hero Arts Autumn ombre ink pad.


Cozy Holiday

Hello! I don't know where you are, but it is a gorgeous fall day here. The sky is so incredibly blue, it looks like it was Photoshopped. 

I haven't done many holiday projects yet, but with the wonderful products coming out now it is hard to wait. This was a pretty quick and easy card using the Hero Arts Coffee Cup Tags stamp set.

After I had stamped the images in MFT Wild Cherry and Dill Pickle dye inks, I decided the whipped cream topping on the green cup needed some pizzazz so I slathered on some Finnabar Snowflake Paste. Huge mistake as it made the dye ink run a bit. Duh. I like to think it's the mint flavoring showing, right?

The sentiment was stamped in MFT Black Licorice onto Whip Cream cardstock, which was also used for the card base. I used MFT Blueprint #15 to cut the MFT Wild Cherry and Lawn Fawn Christmas Plaid layers. As a finishing touch I adhered the holly and poinsettia stickers from Little B onto the cups.

Now that is two Christmas cards done and who-knows-how-many to go. I actually have a very small family and few of my friends exchange cards, but I send them a homemade card anyway. Do  you make a lot of cards?

Be back tomorrow with an autumn creation using Concord and 9th. See you then.


Llama Love - MFT Color Challenge

Wow! Where does the time go. I knew I was busy and ignoring my blog, but I didn't realize it had been a month. At least I wasn't ignoring the card making, so I have lots to share with you in the next few days. I have been experimenting in different water coloring techniques trying to find what works for me - with mixed results. I will be sharing some of those projects later this week,

Today's card was my interpretation of My Favorite Things' Color Challenge #53. 


I made this card for my daughter. Hope she doesn't pop into the blog!


As you can see, this is one of my water coloring attempts, this time with Zig clean color markers. I began by cutting the inside rectangles with MFT's Blueprints 29 from watercolor paper. Then I stamped the images from MFT's Llama Love set with Versamark ink and embossing with black powder. Because the images were relatively small, I wanted the embossing to help control the travel of the water colors. I then colored them with the Zigs and used a waterbrush to blend the colors. I left the llama's colors kind of random to look more like fur.


Next I cut the rest of the pieces for the card also using Blueprint 29. I used MFT Kraft cardstock for the base,  and MFT Coral Crush and Cactus for the panel and frame. I stamped the sentiment on Gravel Gray with Versamark and used white to emboss this time.


I stamped another sentiment on the inside with Black Licorice ink and finished it off with another llama image. I love the sentiments in this set - so clever.

So there you have it - a card completed for a challenge on time and that will actually get put in the mail this week. I am just soooo prolific at making cards, but mailing them is just another story. I am trying to improve my record.

Do you get your cards mailed, or do you collect them? Sometimes it's hard to part with if I really love how it turned out, but I need to get over that.

Have a great day and see you tomorrow with another card or two.


Shadow Stamping

Well,ladies and gentlemen. I watched Stephanie's amazing video and though, I can do this! Guess what, I really can't. It is obvious I need a lot more practice. Take my MISTI away from me, and I'm lost. But as out of place as many of these stamps are, I still like the result. But maybe that's because your baby is always the cutest baby in the world.


So it's pretty obvious I CASEd Stephanie's layout, using Tropical Flowers. I used Coral Crush and In the Buff card stocks and Coral Crush and Hero Arts Unicorn inks. I die cut the Hello from Hello There in white adhesive-back fun foam. Give dimension and makes life easy. I am one of those people that can't line things up properly (i.e. the detail stamps above).

I added a few sequins from 28 Lilac Lane and some clear Wink of Stella to the sentiment. Love the shine it all gives.


So there we have it. I have earned my last badge.


I am going to miss this summer camp. It has been incredibly fun and I have learned a lot. And I promise, I will practice my shadow stamping until I get it right!


It's a Jungle Out There

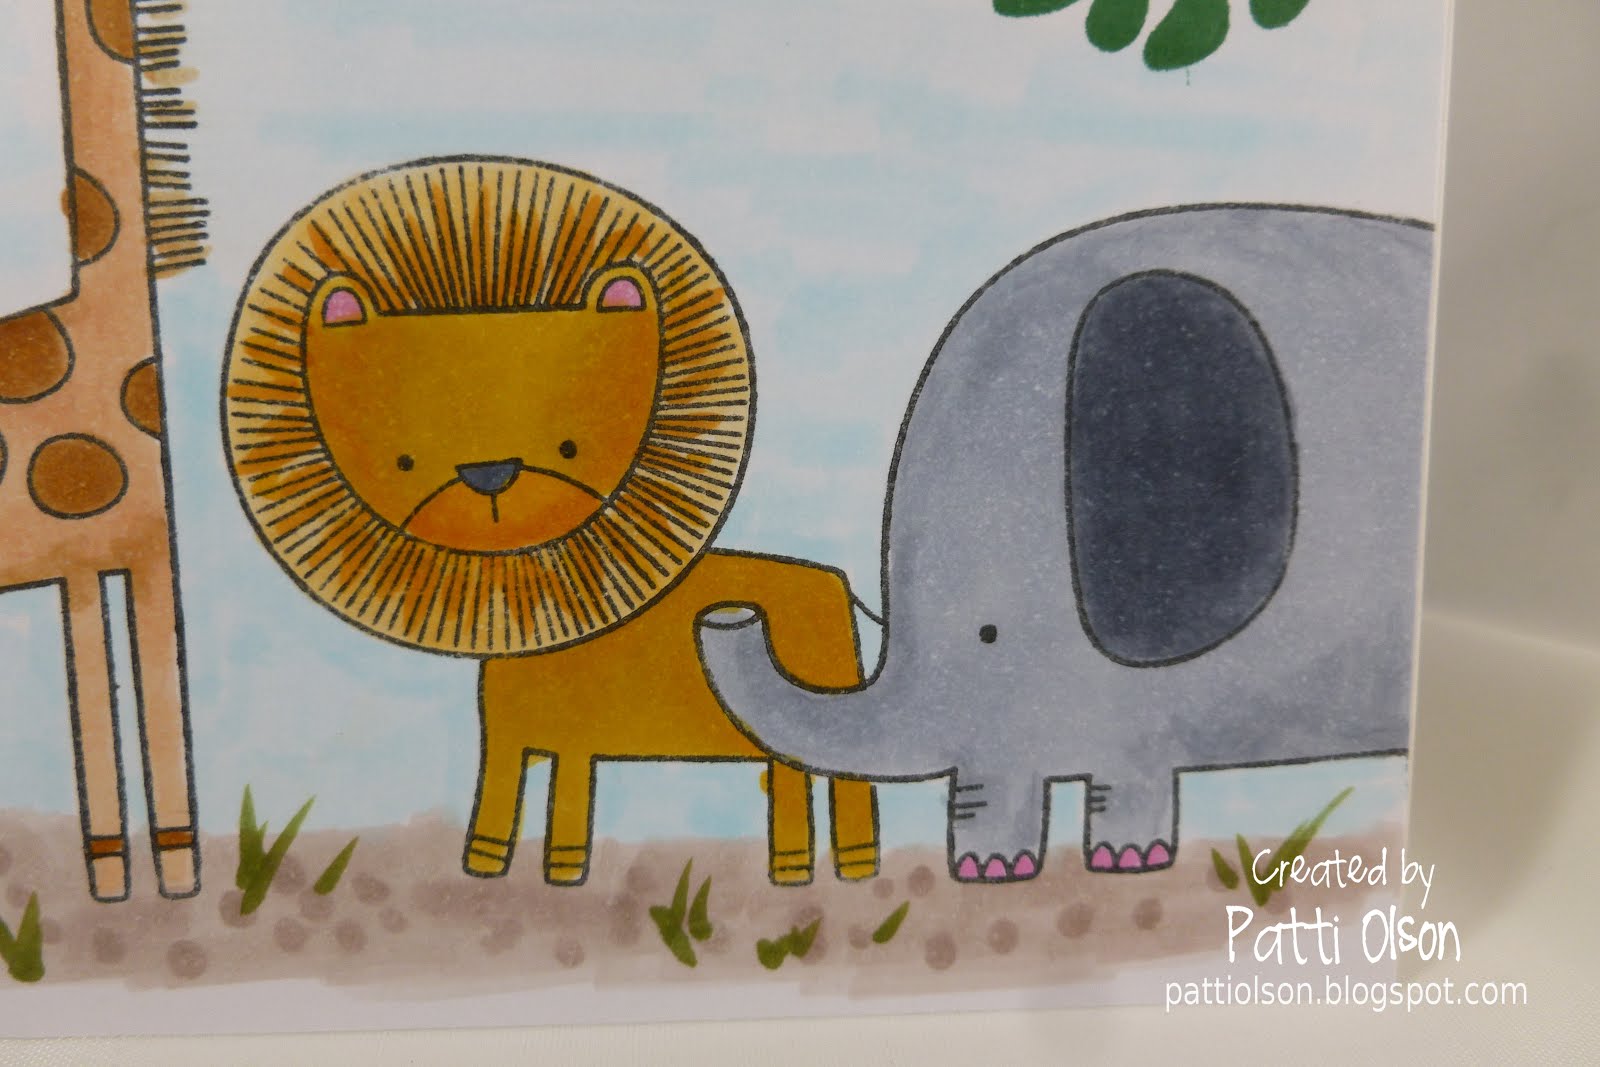
I had a few days "off" to work on my studio some more. I must have hauled up hundred of pounds of paper (I print EVERYTHING out; gotta stop) and old magazines to the recycle bin. No need for the gym this weekend. As a result I am a little behind on my camp challenges but I was able to get caught up. This first post is for the masking challenge at the Thursday night bonfire. This was so much fun. The hardest thing was deciding which stamp set to use. I finally settled on Sweet Safari and then added Tropical Flowers and Jungle Friends to build my scene. Now the reason I went into deep cleaning mode in the studio was because I couldn't find my masking paper! Hubby came to the rescue with full sticky-back post-it notes.  I still haven't found my brand-new pack of masking paper! Last saw it when I did something in Flashy Florals. Oh well.


I put the elephant and giraffe in the foreground as well as the lighter green leaf. The animals were all stamped with Black Licorice Hybrid and the leaves in Dill Pickle and Elf Green. I colored the animals with Copic markers - cool grays for the elephant, warm grays for the zebra, YRs for the lion and Es for the giraffe. I colored the Serengeti with gray/browns and added just a wee bit of blue for the sky. I flicked a couple of sprigs of grass for the vegetarians among them to eat.
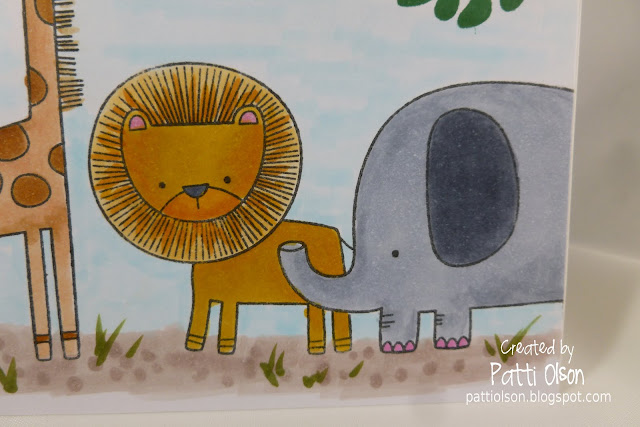

Check out the pedicure on the elephant!


The next time I decide to put an animal out front I will check the size of their tail. That mask was a challenge, but in hind sight it may not have even been necessary.

I used Xpress blending cards and Sweet Tooth card stock for the card base.

And here is my bonfire night badge:


This was fun and I love this card. So playful.

One more challenge left and all my camp classes are done for this session of camp!


Twinkle in a Tangle

Don't scream, but here I am with my first Christmas card of the year. EEK! I would have waited, but I am playing with the Art Impressions Challenge #190 which is called Glitter and Shimmer. Now, I probably could have selected another stamp to use, but I got this cutie last Christmas and never had a chance to ink it up. And with all those Christmas lights calling out for glimmer,how could I not choose Twinkle in a Tangle?


Aren't they just an adorable couple standing under the mistletoe? I imagined that Mrs. Claus was in the kitchen making dinner when Santa snuck up on her after coming in from a day in the workshop. He was wearing his jeans and a comfy red flannel shirt.

I stamp the Art Impressions Twinkle in a Tangle image onto Xpress Blending cardstock with Memento Tuxedo black ink and colored the couple wit Copic markers, leaving the light bulbs uncolored at first. Then I went back and colored in the lights with Kirarina Wink markers for glittery shine. I stamped the sentiment with Versamark ink and heat embossed with Ranger silver detail embossing powder. There is a touch of Wink of Luna silver on Mrs. Claus's earring and glossy accents on her eyeglasses.

But is this enough glitter and glimmer? Nooooo! I put the card together using My Favorite Things Blueprint 15 dies and MFT Card stock in Cherry Crisp and Dill Pickle. The silver glitter paper is from Stampin' Up! I thought it needed something else to bring even more attention to the image panel so I added a slim strip of foiled washi tape from Little B.

I just wish the photo showed all the glimmer and shine!


When do you start making Christmas cards? It is kind of fun making something for the cold season when it it broiling hot and humid outside.